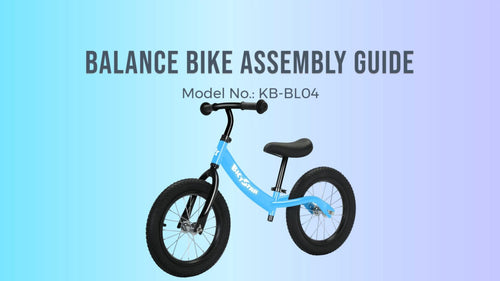
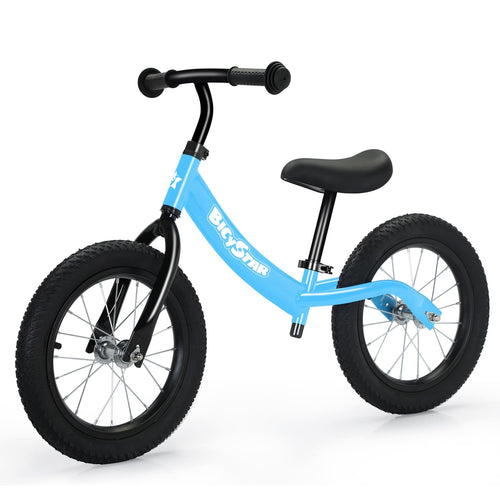
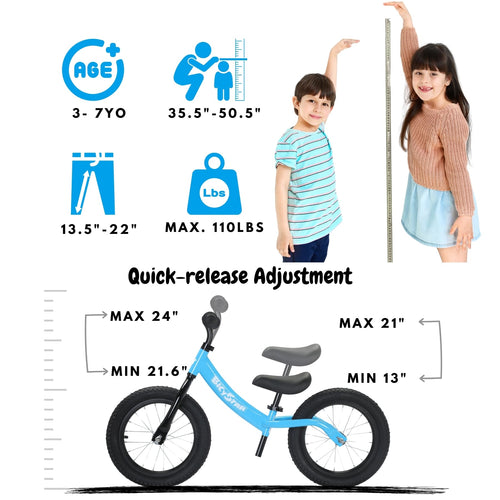
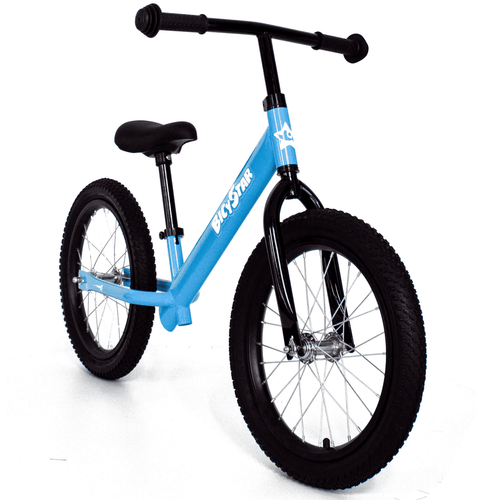
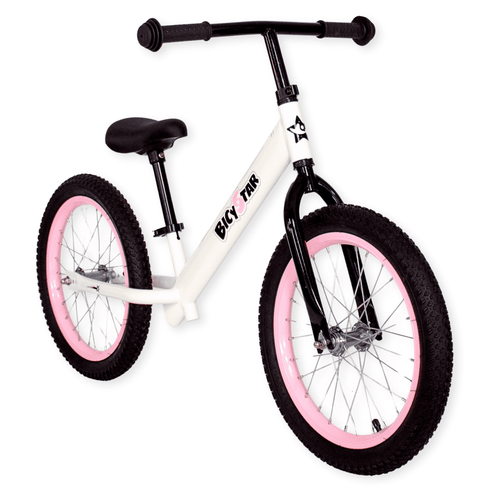
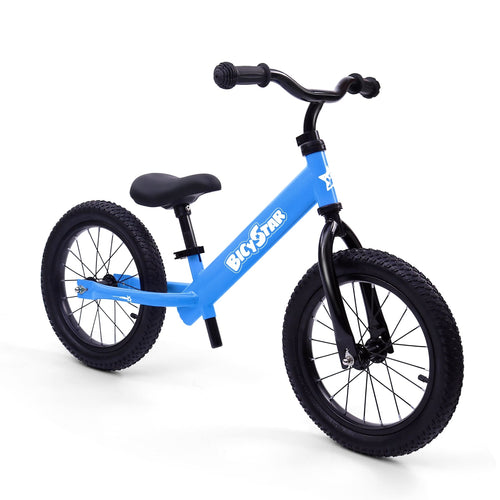
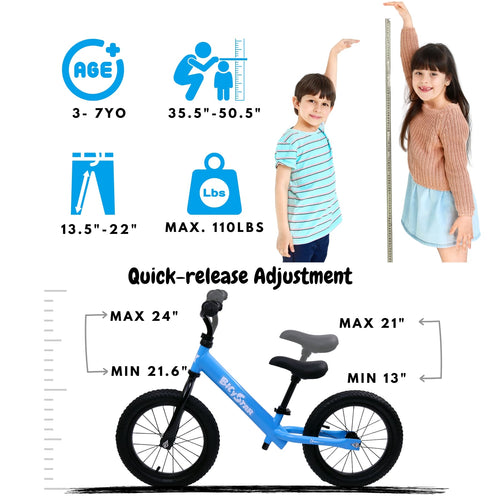
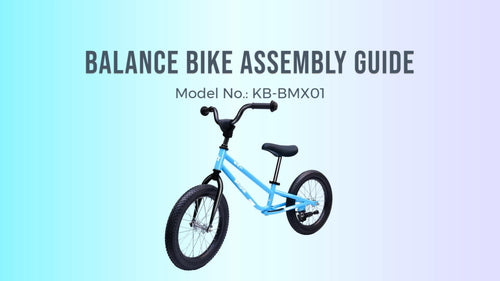
Welcome Bicystar enthusiasts! If you've just purchased a new 14-inch balance bike, we're here to ensure your assembly process is as smooth and straightforward as possible. This blog post is designed to complement our detailed YouTube assembly video, providing a comprehensive guide so you can get your bike ready for adventure in no time.
Parts List
Before we dive into the assembly process, let's take a quick look at the parts included in your package:
- A. Handlebar
- B. Seat
- C. Fork
- D. Frame
- E. Wheels x2
- F. Bushings x2
- G. Stem Spacers x2
- H. Stem Clamp
- I. Assembly Tools
- J. Handlebar Pad
Step-by-Step Assembly Guide
Step 1: Assembling the Fork and Frame
What You Need to Do:
- Slide one stem spacer over the end of the fork.
- Insert the two bushings into the top and bottom of the head tube on the frame.
- Insert the fork up through the bottom of the head tube.
This step connects the fork with the frame, forming the basic structure of your balance bike.
Step 2: Installing the Handlebar
What You Need to Do:
- Slide the remaining stem spacer and then the stem clamp down over the fork on top of the head tube.
- Insert the handlebar into the fork at least 2 inches deep, ensuring proper alignment.
- Fasten the clamp by turning the screw clockwise to hold the handlebar securely in place.
- Wrap the soft handlebar pad around the center of the handlebar and fasten it securely with the velcro.
This step ensures that the handlebar is securely attached and padded for safety.
Step 3: Attaching the Wheels
What You Need to Do:
Front Wheel:
- Remove the axle bolts and retention devices from the front wheel.
- Insert the wheel axle between the fork tubes so that the axle fits into the slots at the end of the fork blades.
- Install the axle retention devices and the axle bolts on each side of the axle.
- Use an adjustable wrench to tighten the axle bolts securely.
Rear Wheel:
1. Install the rear wheel in the same manner as the front wheel.
Properly attaching both wheels is crucial for a smooth and stable ride.
Step 4: Installing the Seat
What You Need to Do:
- Insert the seat post into the frame.
- Fasten the seat clamp by turning the screw clockwise until snug.
- Press the lever down to lock the seat in place.
This ensures that the seat is securely attached and ready for your child's use.
Adjusting the Seat Height
As your child grows, you'll need to adjust the seat height periodically. Here's how:
- Release the lever on the seat clamp and turn the screw counter-clockwise to loosen the seat post.
- Adjust the seat height, making sure at least 2.5 inches of the seat tube is inside the seat post.
- Fasten the seat clamp by turning the screw clockwise until snug.
- Press the lever down to lock the seat in place.
Conclusion
Assembling your Bicystar 14-inch balance bike is a straightforward process that can be completed in just a few steps. With this guide and our video tutorial, you'll have your bike ready in no time, ensuring your child can start their biking adventures safely and confidently.

