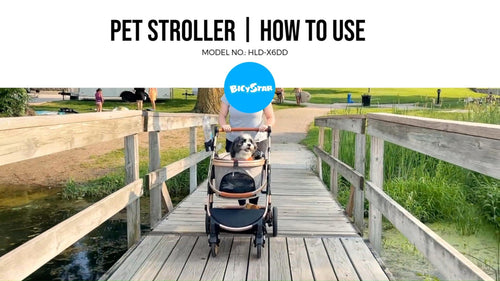
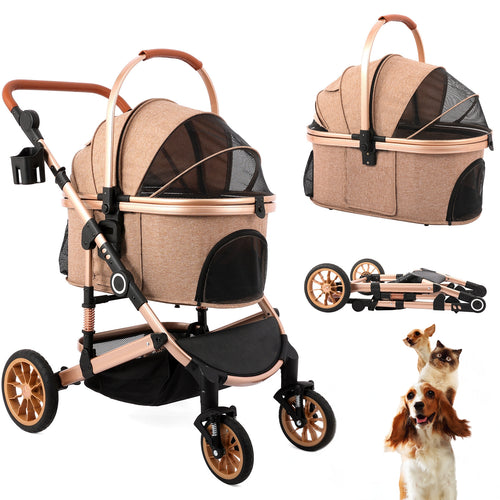
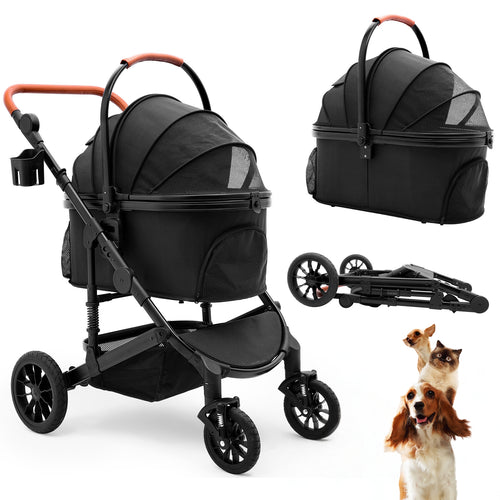
Welcome to our comprehensive guide on using your Bicystar Pet Stroller! For pet owners who love to explore and travel with their furry companions, our pet stroller offers comfort, convenience, and versatility. While we have a detailed video guide available, this blog post will provide a text-based reference for easy reading. Let’s dive in step-by-step!
Step 1: Detaching the Carrier
To begin, you will need to detach the pet carrier from the stroller frame. Follow these simple instructions:- Locate the release buttons on each side of the carrier.
- Press these buttons simultaneously and pull the carrier upward.
- Listen for a click as the carrier disengages from the frame.
Step 2: Versatile Insertion
One of the features of the Bicystar Pet Stroller is its flexible carrier orientation. You can have the carrier facing:- Forward: Allowing your pet to see their surroundings.
- Backward: Giving you and your pet a chance to interact while you stroll.
Step 3: Handle Adjustment
For maximum comfort while pushing the stroller, adjust the handlebar to the preferred height:- Look for the buttons at the base of the handle.
- Press these buttons to unlock and adjust the handle to a 90-degree angle for carrying.
Step 4: Folding the Stroller
When it's time to store or transport your stroller, follow these steps to fold it down:- Locate the folding mechanism on the right side of the frame.
- Pull both triggers upwards while pressing down on the frame to compact it.
- The stroller will fold in half for easy storage.
Step 5: Unfolding the Stroller
To unfold the stroller for use:- Lift the handle until the frame extends fully.
- Engage the locking mechanism by ensuring it clicks into place.
Step 6: Engaging Rear Wheel Brakes
Safety is essential when using your pet stroller. Ensure the rear wheels are locked in place:- Press down on the brake lever to lock both rear wheels.
- To release the brakes, simply pull the lever upwards.
Step 7: Adjusting Front Wheel Locks
The front wheels of your stroller can easily be locked for stability:- Check that the wheels are aligned, then press down on the locking mechanism.
- This will allow the front wheels to be secure.
- To unlock, simply lift the mechanism and let the wheels rotate freely.
Step 8: Adjusting the Handlebar
Lastly, for optimal comfort, make sure the handlebar is at a height that suits you:- Locate the round buttons on the sides of the handlebar.
- Press both buttons while adjusting to your desired angle.
- Release the buttons to lock the handlebar in place.
Conclusion
Remember, adventure awaits at every corner! If you prefer a visual guide, don't forget to check out our video tutorial for a step-by-step demonstration.Happy strolling, and enjoy the bonding moments with your furry friend! For more tips and product updates, be sure to follow our blog!

