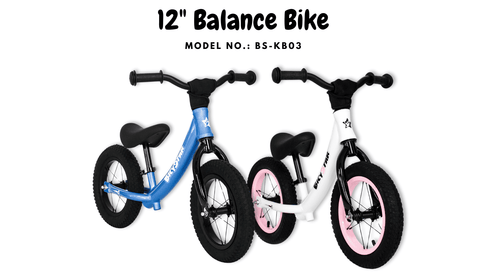
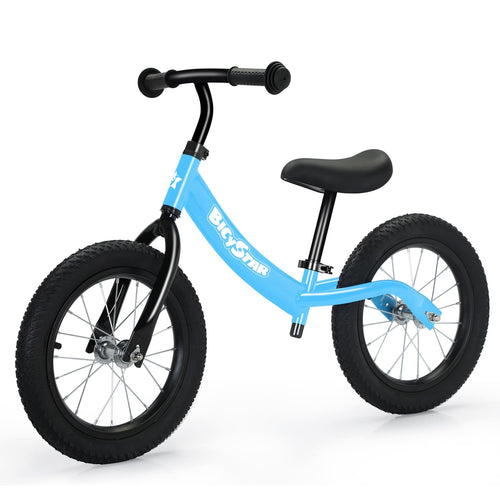
Detailed Assembly Steps
Step 1. Installing the Front Wheel
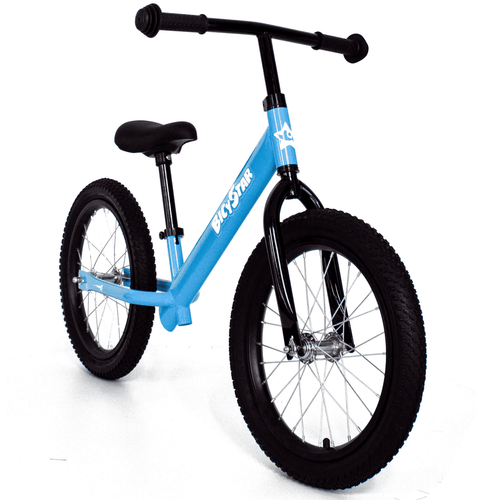
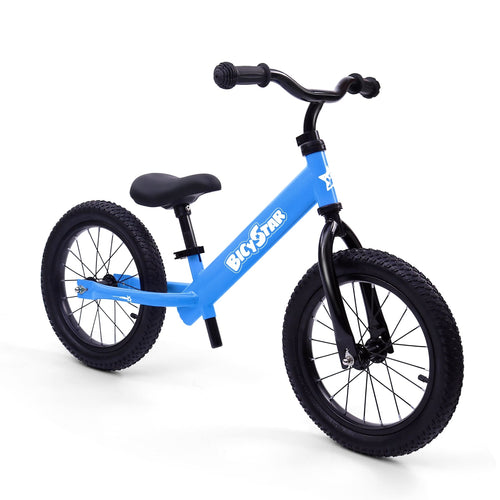
Begin by removing the protective caps and loosening the axle nuts on the front wheel. Carefully align the wheel between the fork's dropouts. Tighten them equally on both sides using a wrench, ensuring the wheel is securely attached and centered.
Note: Ensure that the wheel spins freely without wobbling.
Step 2. Handlebar Attachment
Before attaching the handlebar, ensure the stem clamp at the top of the fork is loose enough to insert the handlebar. Position the handlebar by aligning it perpendicular to the front wheel for accurate steering. Once in place, retighten the screws on the stem clamp, checking for stability. Attach the provided protective pad around the handlebar where it meets the fork for added safety—this will cushion any impacts.
Step 3. Seat Installation
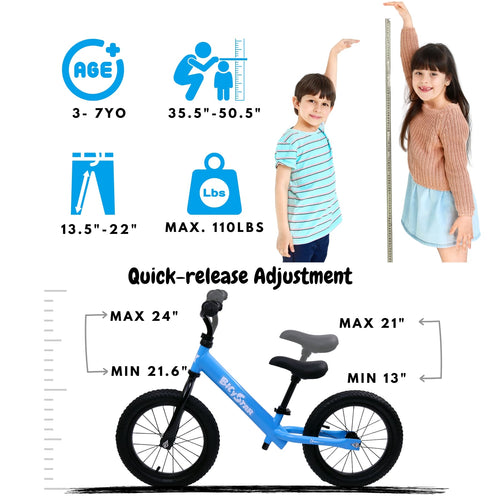
Insert the seat post into the frame's seat tube. If there's any resistance, check for obstructions or alignment. Close the quick-release clamp's lever to secure the seat post in place.
Important: Always confirm that the quick-release mechanism is fully closed before riding.
Section 3: Perfecting the Seat Height
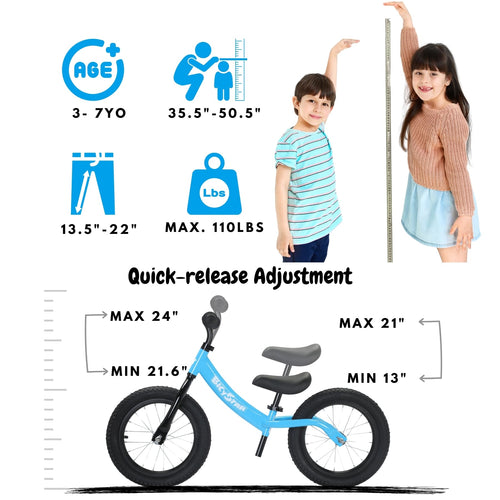
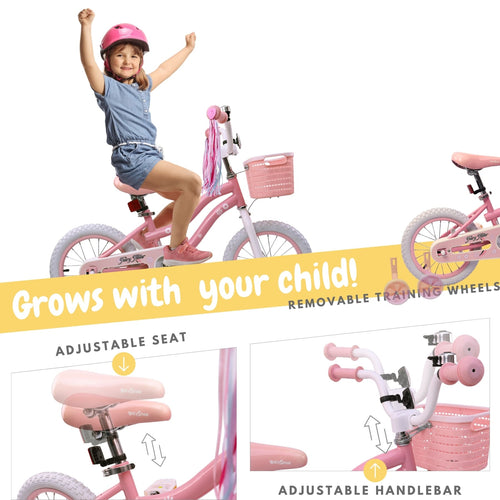
Adjusting the seat height is critical for your child's balance and control. Open the quick-release clamp to adjust the seat post upward or downward. The ideal height allows your child to touch the ground flat-footed while seated. The correct tension of the quick-release lever should require firm pressure to close—if it's too loose or too tight, rotate the adjuster nut accordingly and test the lever again.
Reminder: After any adjustment, double-check that the seat is locked in position before each ride.
Additional Tips:
- Rider Safety: Before the first ride, ensure all parts are securely fastened and check the bike for proper function. Regular maintenance checks are recommended.
- Helmet: Don't forget to equip your child with a properly fitting helmet before they begin riding. Safety first!
